Ford Mustang (1999-2004) Service Manual: Water Pump - 3.8L
Material
| Item | Specification |
| Motorcraft Premium Gold Engine Coolant VC-7-A (in Oregon VC-7-B) (yellow color) | WSS-M97B51- A1 |
Removal and Installation
1. Drain the engine coolant. For additional information, refer to Cooling System Draining, Filling and Bleeding in this section.
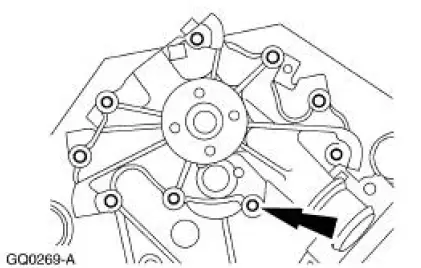
2. Loosen the coolant pump pulley bolts.
3. Remove the power steering (PS) pump pulley. For additional information, refer to Section.
4. Remove the bolts and the coolant pump pulley.
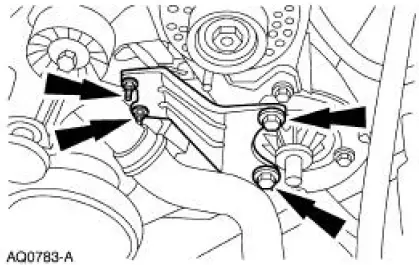
5. Remove the PS bracket.
- Remove the bolts.
- Remove the nuts.
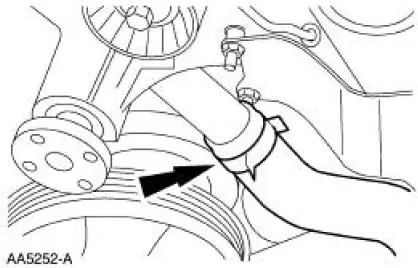
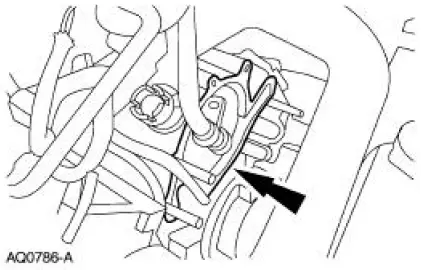
6. Disconnect the lower radiator hose from the coolant pump.
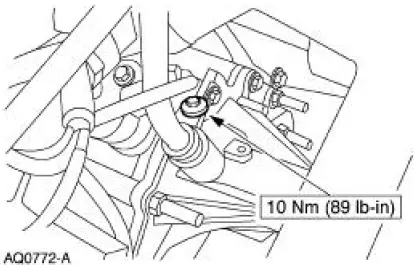
7. Position aside the coolant heater outlet tube assembly.
- Remove the bolt.
8. Remove the coolant pump.
- Remove the stud.
- Remove the four bolts.
- Remove the four nuts.
9. Clean and inspect the gasket sealing surfaces.
10. To install, reverse the removal procedure.
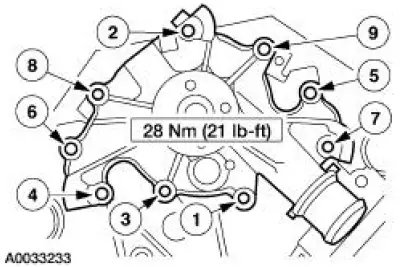
- Install a new gasket.
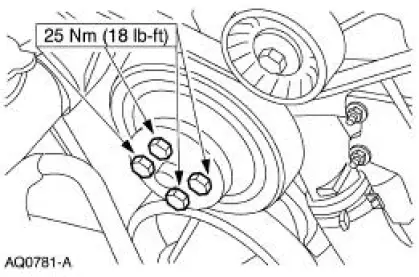
- Tighten the coolant pump stud, bolts and nuts in the sequence shown.
11. Fill and bleed the cooling system. For additional information, refer to Cooling System Draining, Filling and Bleeding in this section.
 Bypass Tube - Mach I
Material
Item
Specification
Motorcraft Premium Gold
Engine Coolant
VC-7-A (in Oregon VC-7-B)
(yellow color)
WSS-M97B51-
A1
Removal and Installation
1. Remove the air intake ...
 Water Pump - 4.6L(2V) and 4.6L(4V)
Material
Item
Specification
Motorcraft Premium Gold
Engine Coolant
VC-7-A (in Oregon VC-7-B)
(yellow color)
WSS-M97B51-
A1
Removal and Installation
Mach I
1. Remove the air ...
Other materials:
Actuator - Speed Control Servo
1. CAUTION: Electronic modules are sensitive to static electrical
charges. If exposed
to these charges, damage may result.
Disconnect the battery ground cable.
2. Remove the LH wheel and tire; refer to Section.
3. Position aside the LH front splash shie ...
Disc
Removal
1. Remove the front disc brake caliper anchor plate (2B292). For
additional information, refer to
Brake Caliper Anchor Plate in this section.
2. Match mark the hub (1104) and the brake disc (1125).
3. If necessary, remove and discard the kee ...
Removal
All vehicles
WARNING: To prevent glass splinters from entering eyes or
cutting hands, wear safety
glasses and heavy gloves when cutting glass from the vehicle.
1. Remove the RH and LH windshield side garnish mouldings.
If equipped with a convert ...
