Ford Mustang (1999-2004) Service Manual: Bar - Stabilizer
Removal
CAUTION: Suspension fasteners are critical parts because they affect performance of vital components and systems and their failure can result in major service expense. A new part with the same part number or an equivalent part must be installed, if installation is necessary. Do not use a part of lesser quality or substitute design. Torque values must be used as specified during reassembly to ensure correct retention of these parts.
1. Raise the vehicle on a hoist.
2. Remove the wheel and tire assemblies.
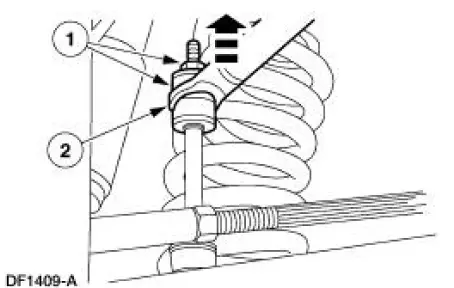
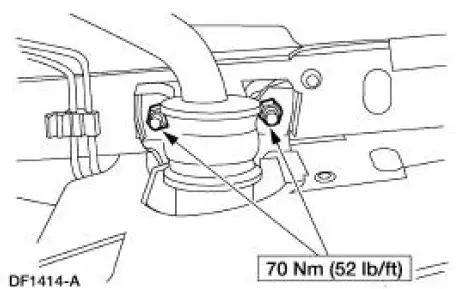
3. Disconnect the front stabilizer bar links (5K483) from the front stabilizer bar (5482).
1. Remove the nuts and bushings. Discard the nuts.
2. Rotate the stabilizer bar to disconnect the links.
4. Remove and discard the nuts.
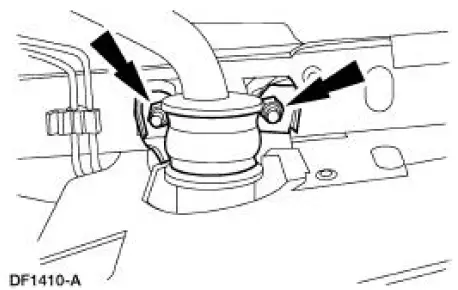
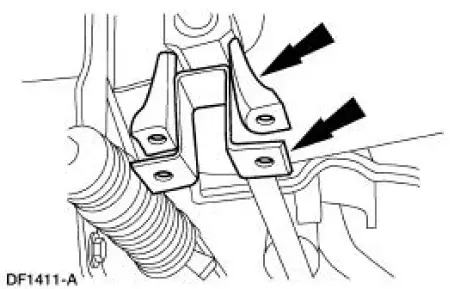
5. Remove the stabilizer bar brackets (5486) and the stabilizer bar mounting bracket adapters (5B482).
6. Remove the stabilizer bar.
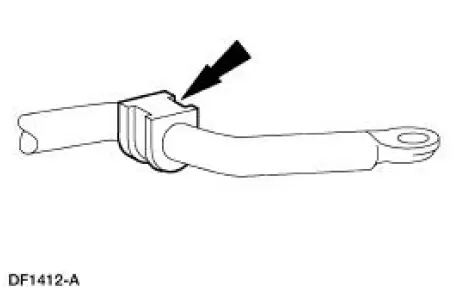
7. If necessary, cut the stabilizer bar insulators (5493) from the stabilizer bar.
Installation
1. NOTE: To aid installation, coat the necessary parts of the front stabilizer bar and the inside diameter of the stabilizer bar bushing with Rubber Suspension Insulator Lube E25Y-19553-A or equivalent meeting Ford specification ESF-M99B112-A.
To install, reverse the removal procedure.
 Arm - Lower
Removal
CAUTION: Suspension fasteners are critical parts because they affect
performance of vital
components and systems and their failure can result in major service expense. A
new part with
the sa ...
 Link - Stabilizer Bar
Removal
CAUTION: Suspension fasteners are critical parts because they affect
performance of vital
components and systems and their failure can result in major service expense. A
new part with
the sa ...
Other materials:
Exhaust Manifold - Inspection
Special Tool(s)
Straight Edge
303-D039 (D83L-4201-A) or
equivalent
1. Place a straight edge across the exhaust manifold flanges and check for
warping with a feeler
gauge.
Bearing -Inspection
1. Inspect bearings for the following defects. P ...
Accelerator Cable Bracket - 4.6L (2V)
Removal and Installation
1. Disconnect the speed control cable from the throttle body and the bracket.
For additional
information, refer to Section.
2. Disconnect the accelerator cable from the throttle body by rotating the
throttle body full open
and align ...
Pinpoint Tests
CAUTION: Before removing and installing the GEM or its connectors,
disconnect the
battery. Failure to follow this caution will result in the GEM storing many
erroneous DTCs and it
may exhibit erratic operation after installation.
CAUTION: Be careful when pr ...
