Ford Mustang (1999-2004) Service Manual: Disassembly
1. Inspect the clutch cylinder thrust surfaces, piston bore and clutch plate serrations for scores or burrs. Minor scores or burrs may be removed with crocus cloth. Install a new clutch cylinder if it is badly scored or damaged.
2. Check the fluid passage in the clutch cylinder for obstructions. Clean out all the fluid passages.
Inspect the clutch piston for scores and install a new piston if necessary. Inspect check balls for freedom of movement and correct seating.
3. Check the clutch release spring for distortion and cracks. Install a new spring (including wave spring) if distorted or cracked.
4. Inspect the composition clutch plates, steel clutch plates and clutch pressure plate for worn or scored bearing surfaces. Install new parts if they are deeply scored or burred.
5. Check the clutch plates for flatness and fit on clutch hub serrations. Discard any plate that does not slide freely on serrations or that is not flat.
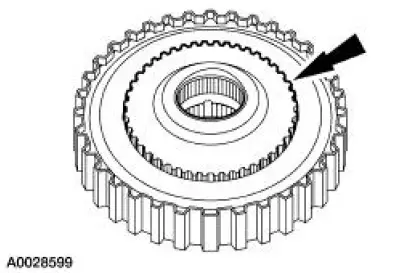
6. Check the clutch hub thrust surfaces for scores and clutch hub splines for wear.
7. NOTE: The forward clutch hub may remain in the shell during disassembly.
Remove the forward clutch hub and the No. 3 forward clutch hub front bearing.
8. NOTE: To aid handling, the forward clutch assembly may be set in the extension housing or a hole in the work bench.
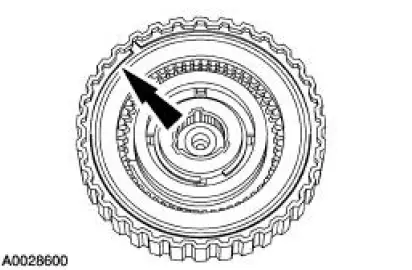
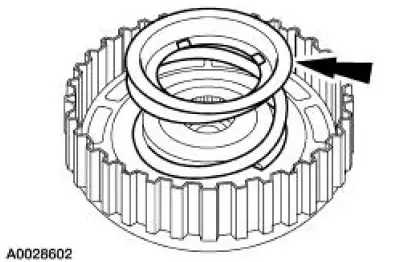
Remove the forward clutch pack selective retaining ring.
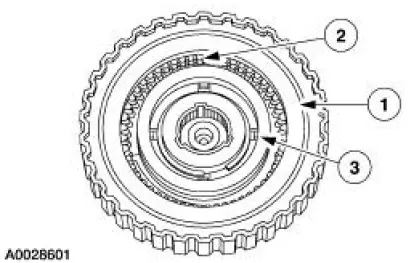
9. Remove the following components.
1. Remove the pressure plate.
2. Remove the clutch pack.
3. Remove the pressure spring.
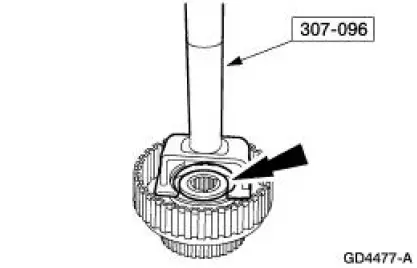
10. CAUTION: Apply only enough pressure to release pressure on the retaining ring. If too much pressure is applied, the spring may break.
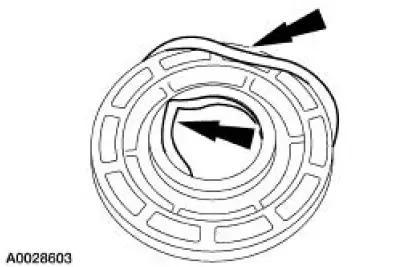
Using the special tool, remove the forward clutch retaining ring.
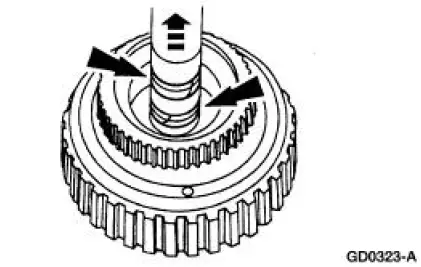
11. Slowly release the press and remove the forward clutch from the press.
12. Remove the forward clutch retainer and the return spring.
13. NOTE: Air pressure may be required to remove the forward clutch piston.
Remove the forward clutch piston.

14. Remove the inner and outer forward clutch piston seals.
15. NOTE: The seals are solid seals, however, when installing new seals use scarf-cut seals.
Remove the forward clutch input shaft seals.
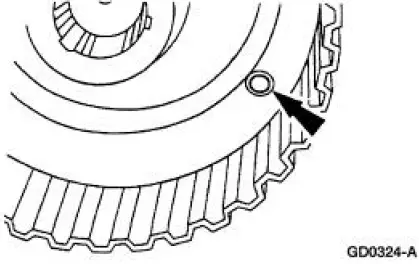
16. Make sure the check ball in the clutch cylinder is free and clean. Check for correct seating.
 Forward Clutch Cylinder
Special Tool(s)
Dial Indicator Gauge with
Holding Fixture
100-002 (TOOL-4201-C) or
equivalent
Compressor, Clutch Spring
307-096 (T81P-70235-A)
Protector, Tra ...
 Assembly
1. Inspect the clutch cylinder thrust surfaces, piston bore and clutch plate
serrations for scores or
burrs. Minor scores or burrs may be removed with crocus cloth. Install a new
clutch cylinder if
...
Other materials:
Lead Terminal Repair
Special Tool(s)
Heat Gun
107-R0300 or equivalent
Material
Item
Specification
Rear Window Defroster Repair
D8AZ-19562-AA
WSB-M4J58-B
1. NOTE: The rear window glass must be at room temperature at the time of the
repair.
Clea ...
Symptom Chart
Condition
Possible Sources
Action
The Brakes Pull or
Drift
Tire air pressure.
Wheel alignment.
Brake pads.
Brake components.
Suspension
component.
Go To Pinpoint Test A .
...
Lumbar Control Switch
Removal and Installation
All vehicles
1. Remove the front seat. For additional information, refer to Seat-Front
Power in this section.
Vehicles with standard power lumbar
2. Pull to remove the lumbar control switch (14C715).
3. Disconnect the power lum ...
